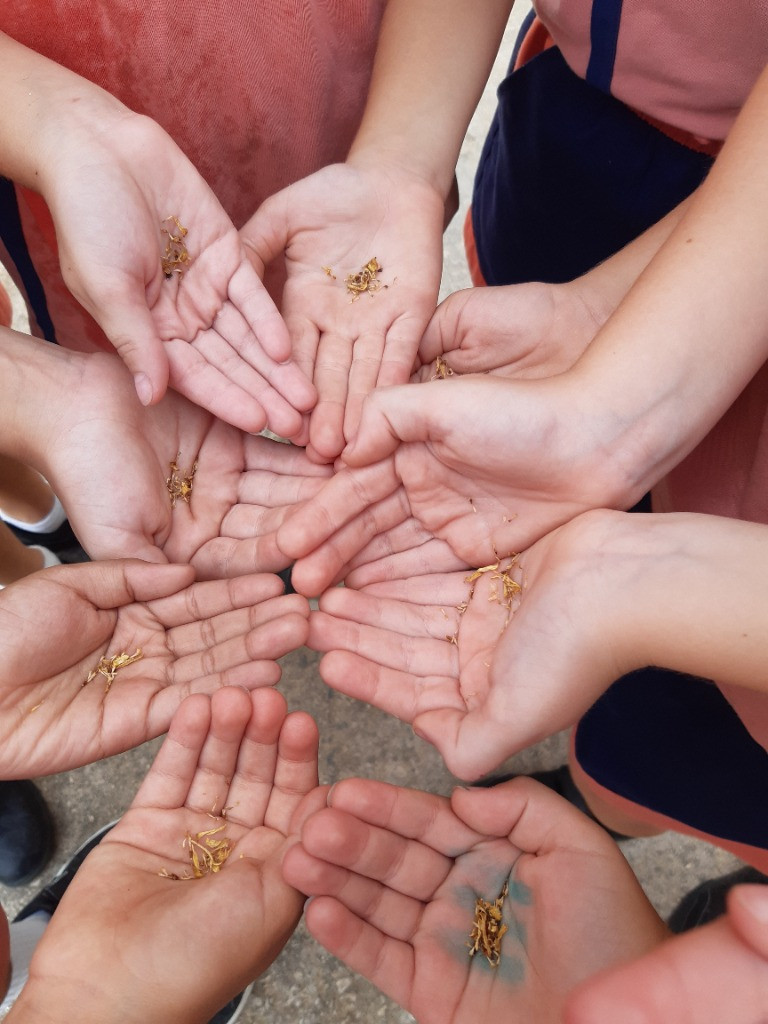
Wheel of Life 1
1. Plan ahead for wild plant seeds
Start thinking about this activity in the first term. Decide early where you will get seeds. Often, wild plant seeds are already in your soil, you just need to loosen the soil slightly so they can sprout when the rains arrive. Using wild plants is ideal because:
- You can observe the full life cycle;
- It helps children understand that wild plants are not “weeds” but valuable parts of nature.
2. Prepare your growing space
You can use your existing Pollinator Station (from Pollinators Places activities) or create a dedicated wild plant area. This could be a series of pots, planters (see "Pollinator Station" in Downloadable Materials), or a soil patch. Make sure to turn or rake the soil so it’s not too compacted, giving seeds the best chance to grow.
3. Explore plant Life Cycles
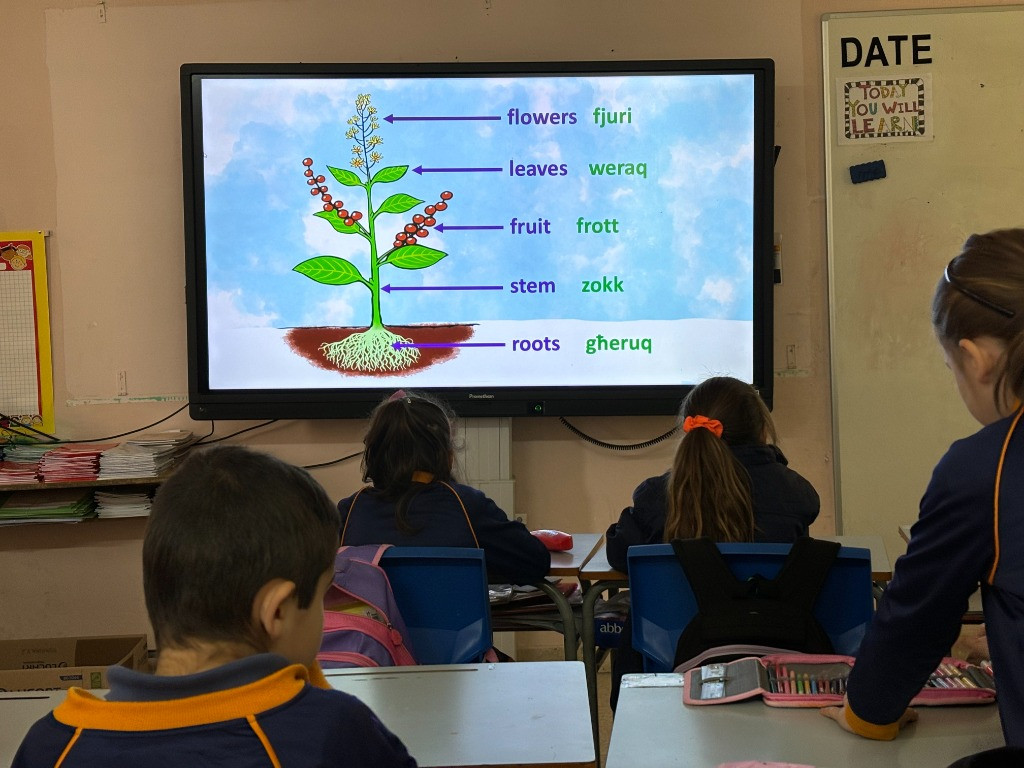
Use the videos "Plants 1" and "Plants 2" (Downloadable Materials) to introduce lessons about plant growth and life cycles, reinforcing observation and discussion skills.
Resources & Equipment Needed
- Wildflower seeds (available from BirdLife Malta – contact [email protected]);
- Child-friendly trowels (may be available from BirdLife Malta – contact [email protected]);
- Pots or planter (optional);
- Soil.
You can download these instructions in PDF by clicking here: Generate PDF
Downloadable Material
Activity Sheet_Wheel of life 1
PDF Document
Plants Part 1 video
YouTube Video
Plants Part 2 video
YouTube Video
Pollinator station
PDF Document
Make sure to take photos of:
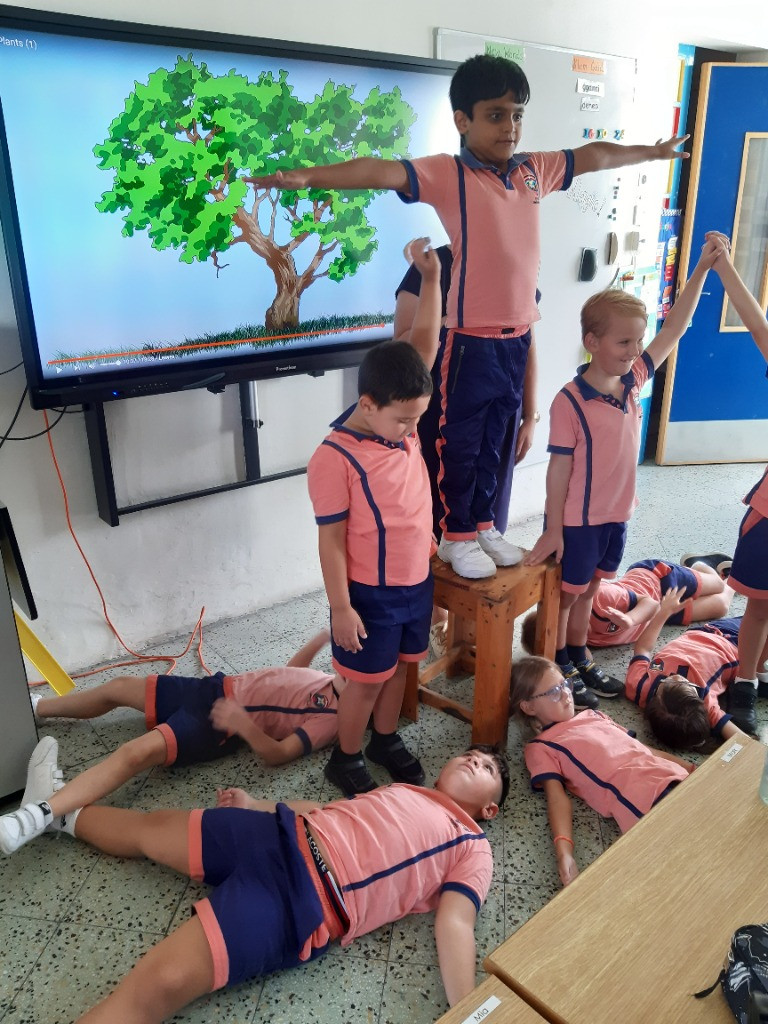
1. Children watching videos2. Lessons you create around the videos
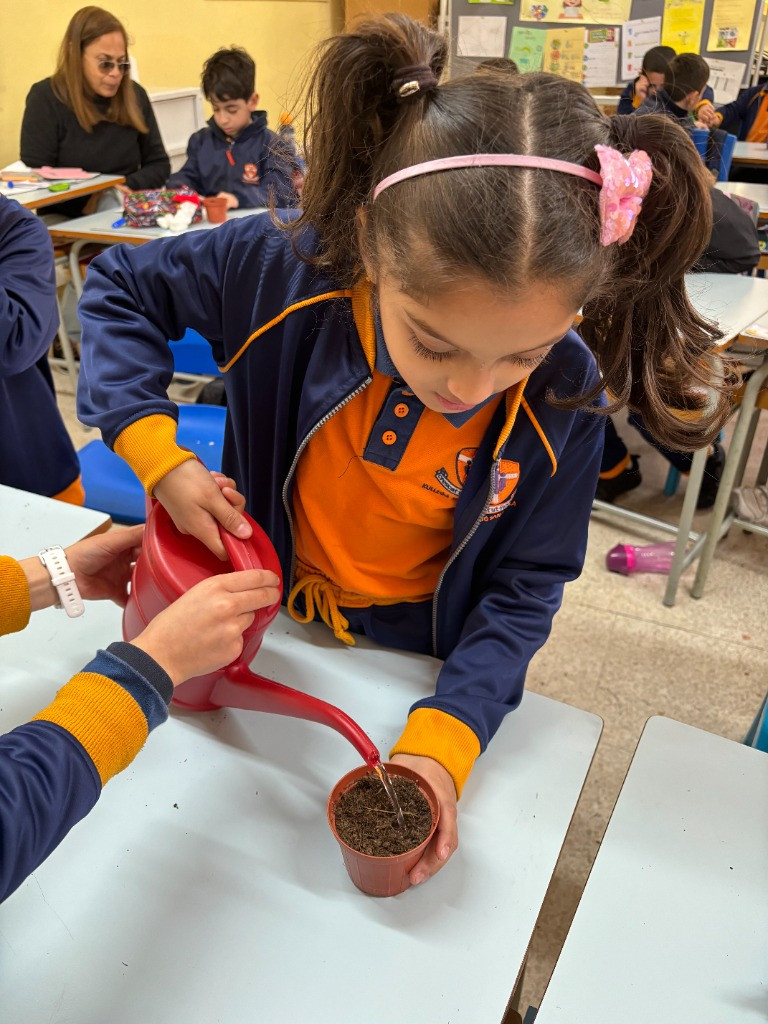
3. Children planting and watering the seeds
Activity Photos for Inspiration
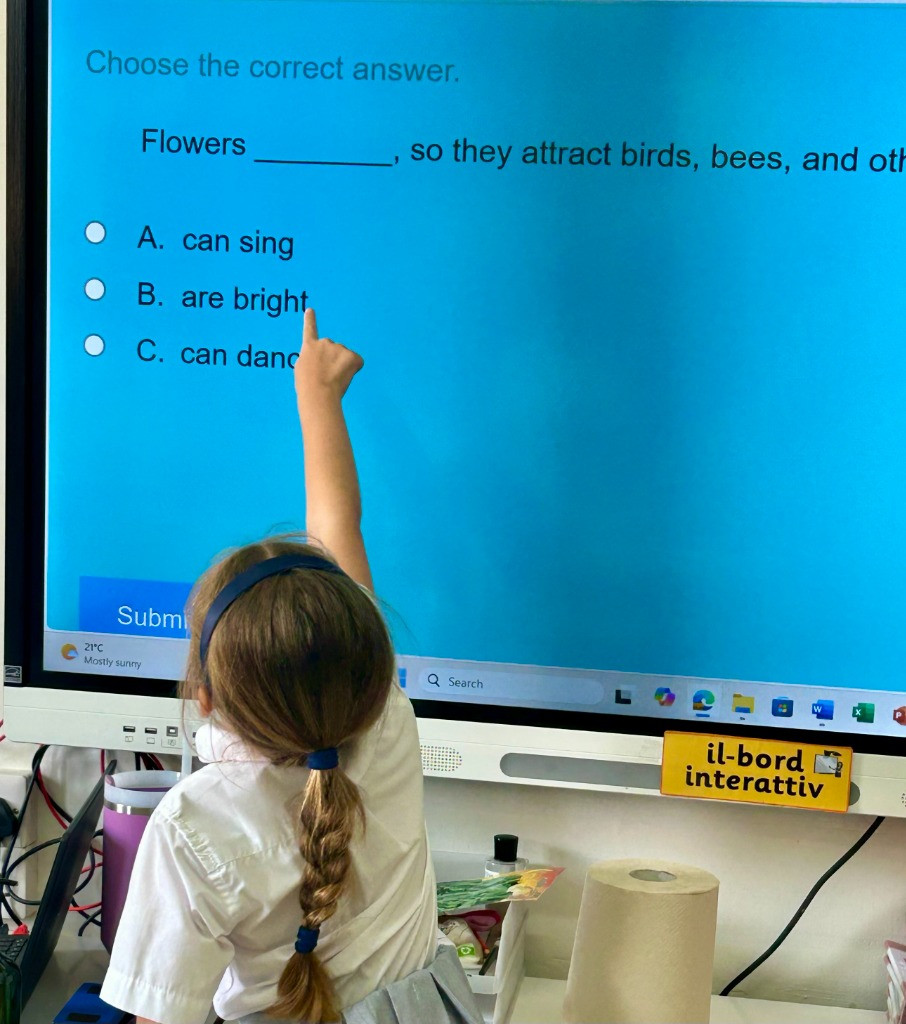
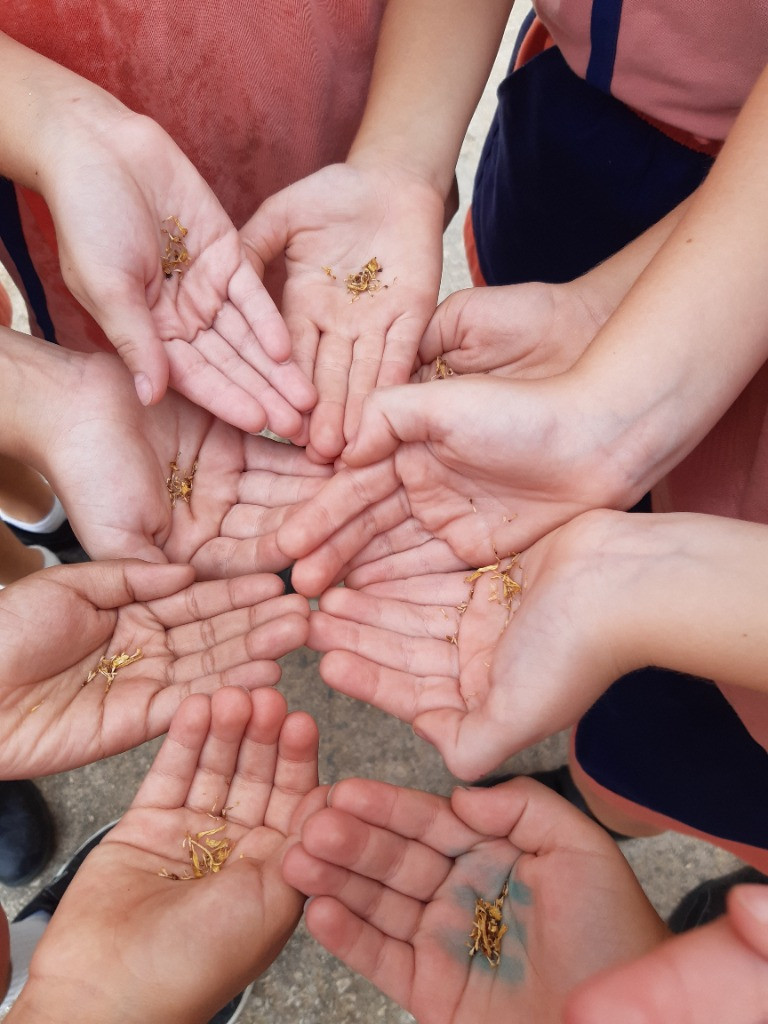
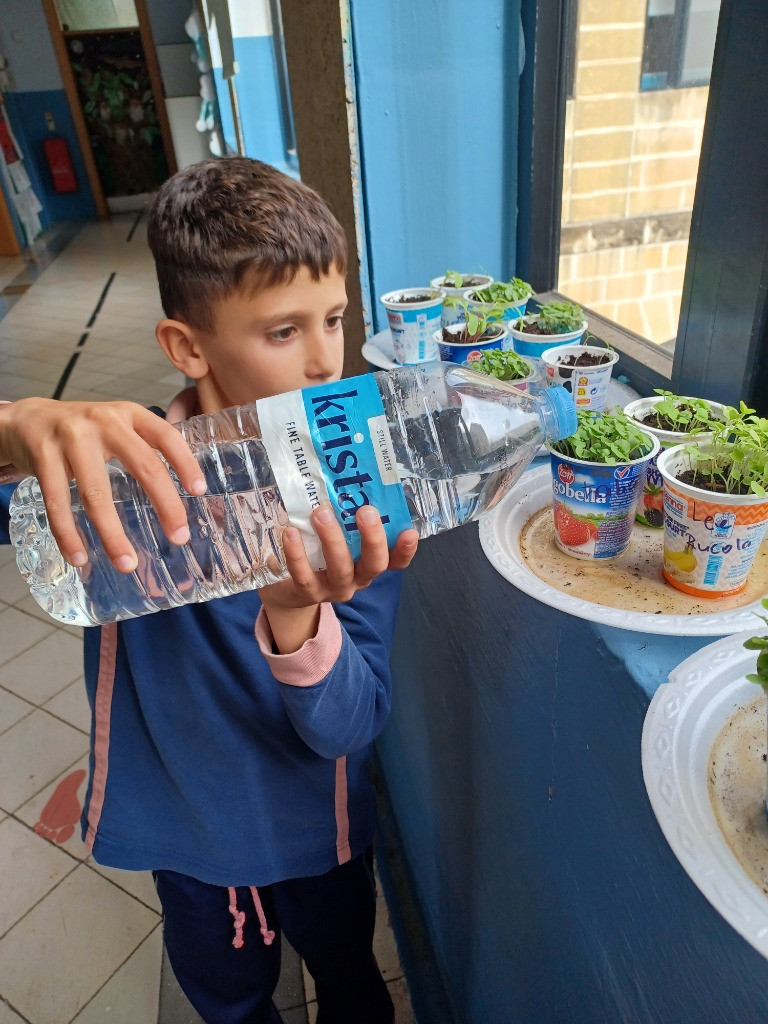
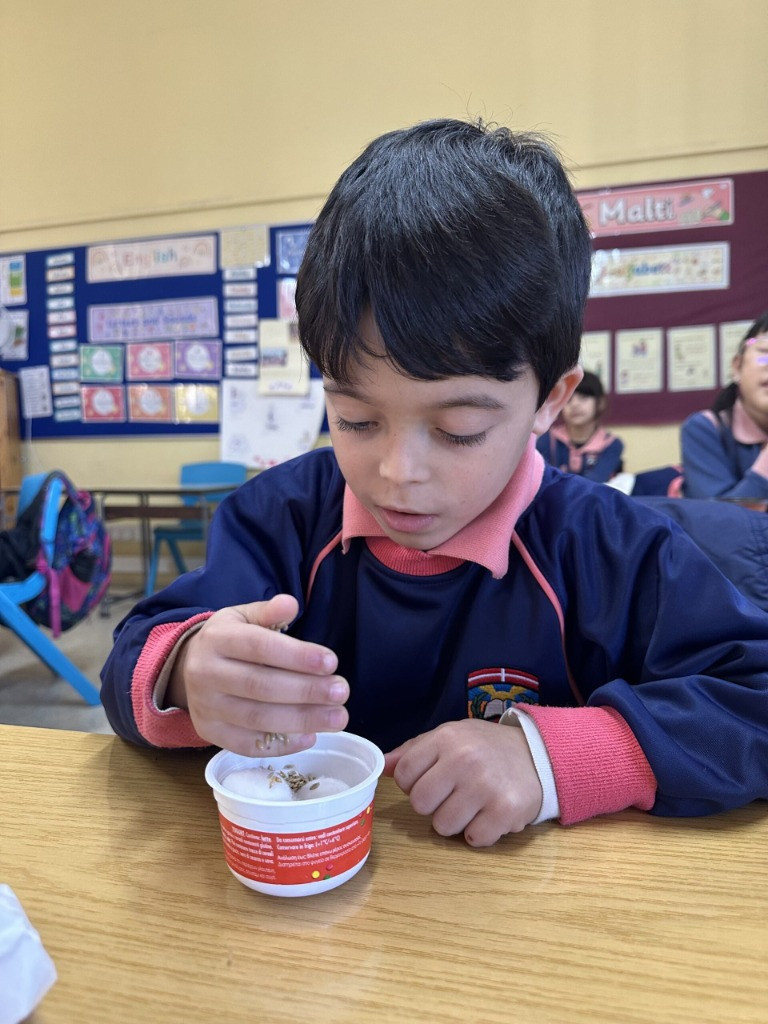
Learning Outcomes & Curriculum Integration
Subjects
- - Science
- - English
Learning Outcomes
Science
3.1.1 I can ask questions about the world around me.
3.1.4 I can carry out a simple practical investigation with the teacher’s support.
3.1.5 I can record observations in a simple format.
3.1.8 I can describe what I did and what happened by talking about it or by drawing a diagram.
3.2.4 I can name and describe the purpose of the basic parts of a plant.
3.2.5 I can put the different stages in the life of a flowering plant in order.
English
W 5.9 I can write a paragraph appropriately for an audience and with a purpose.
W 5.16 I can write instructions to explain the steps of a process.
LS 5.10 I can listen to others, letting them put forward their point of view and take turns in a discussion and/or conversation.
LS 5.15 I can convey a message accurately and clearly.
Integration with Curriculum
Instructions for students:
1. Prepare a clear jar, some napkins or cotton wool, a water spray bottle and a few seeds (these can be beans or sunflower seeds etc.)
2. Place the napkins in a circle around the jar or fill the jar with cotton wool.
3. Place the seed between the jar and the napkin/cotton wool, half way up the jar.
4. Wet everything with some water and place the jar in a well-lit place.
5. Observe growth for the next few days/weeks.
Suggestions for teachers:
1. Encourage students to write a short report of what they have done and draw a diagram.
2. Ask students to write their observations every few days and include a diagram of the progress.
3. Diagrams can be labelled once the students are familiar with the parts of a plant. Familiarize students with the purpose of each part of the plant.
4. Discuss where the seeds come from, what happens when the plant makes a flower or a fruit, how new plants start growing. Introduce the wheel of life.