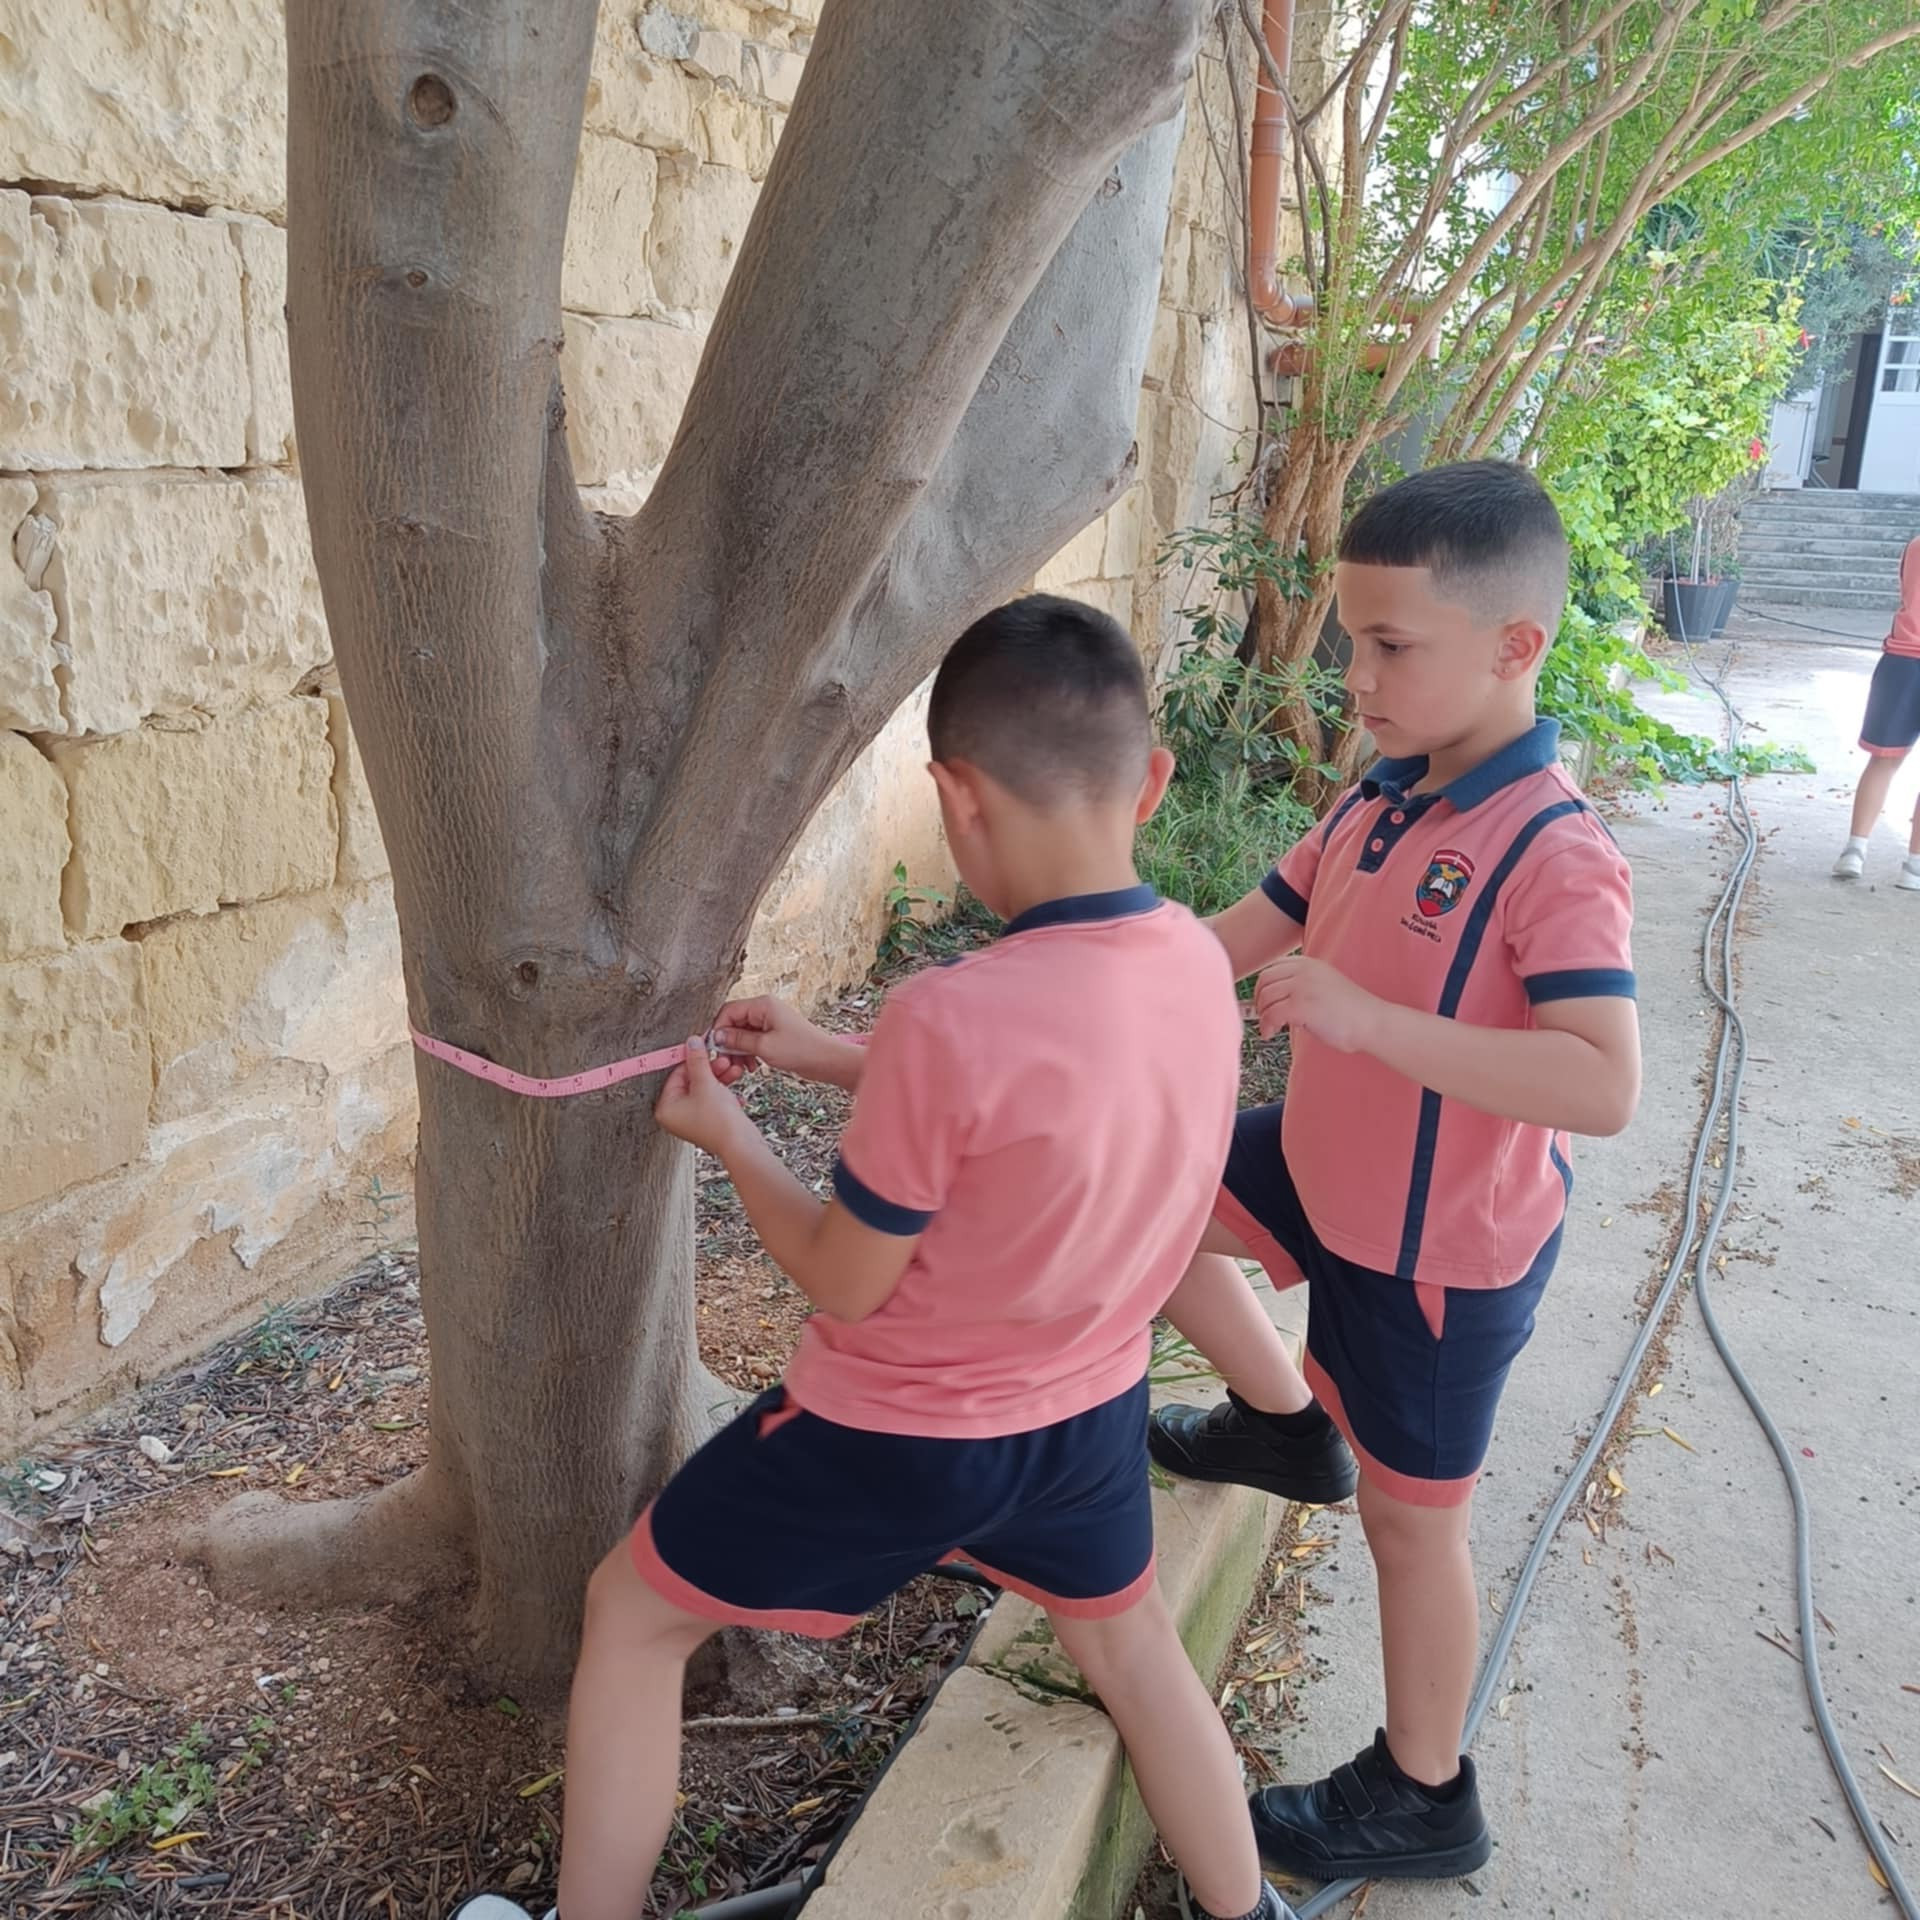
Trees are Cool 1
1. Why trees are life-givers
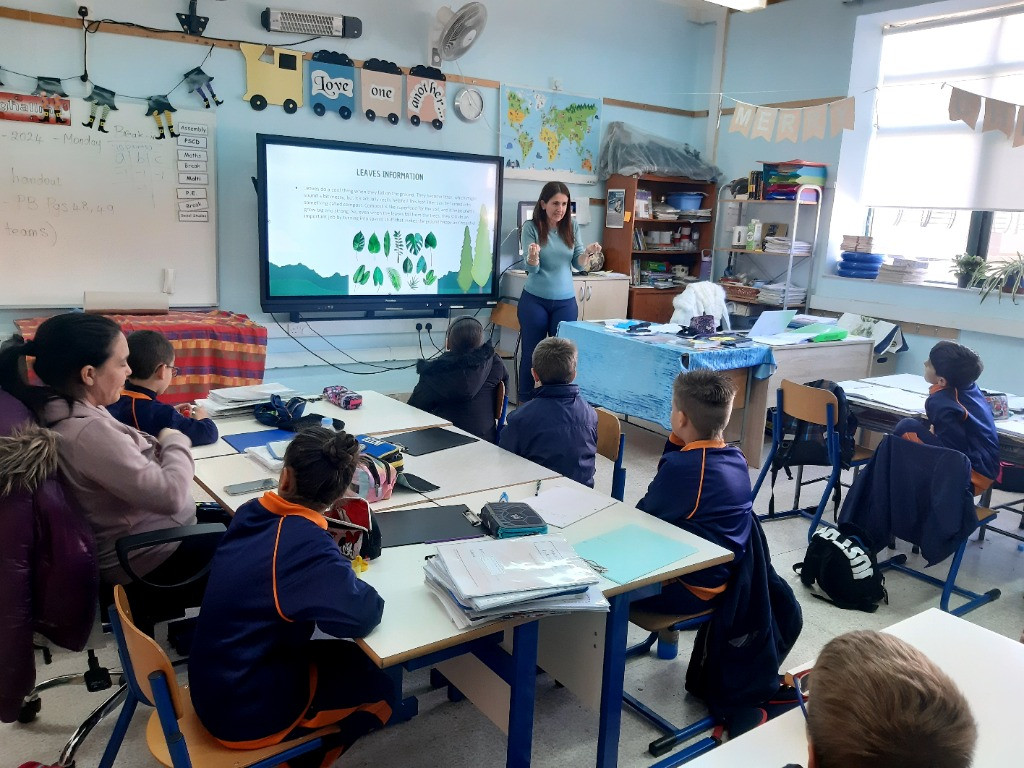
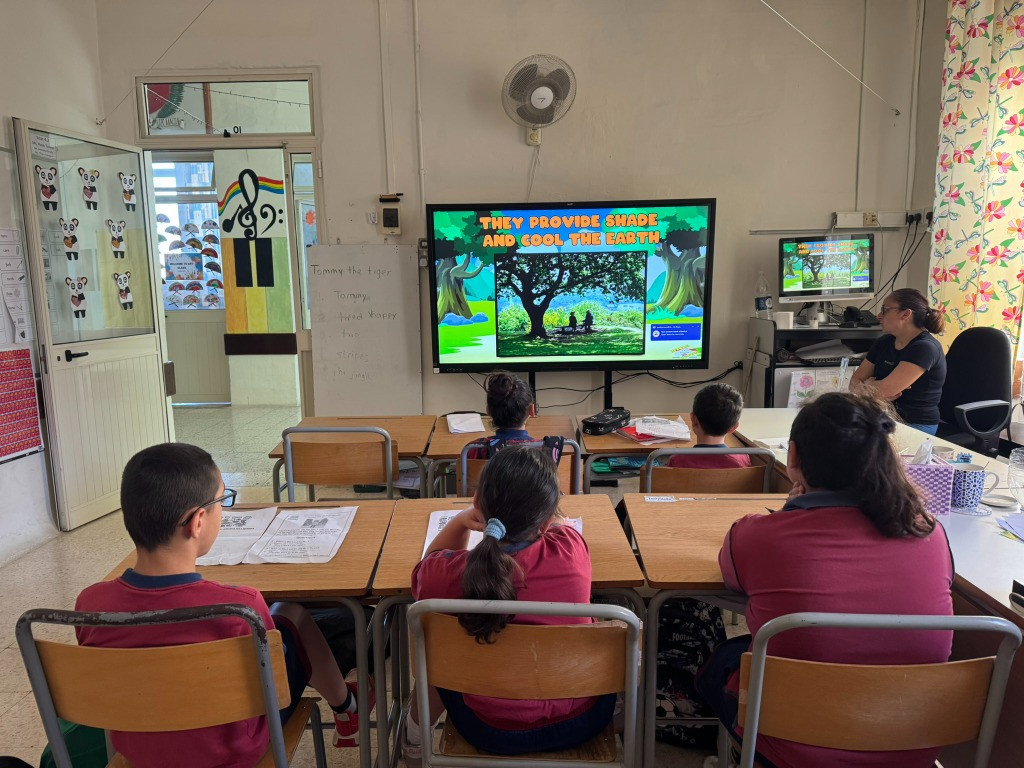
Design a lesson to highlight the many benefits of trees, such as:
- Leaves release oxygen, the “good air” that all animals (including humans) need to live.
- Leaves provide shelter for birds, as well as hiding spots and nesting material.
- Fallen leaves turn into natural compost and fertiliser, enriching the soil.
- Leaves and bark serve as food and habitat for many animals, which in turn support other animals in the food chain.
- Tree trunks offer a base for lichens, mosses, fungi, and even small flowering plants.
- Fruits are an excellent food source for both animals and people.
- Flowers produce nectar that attracts insects such as butterflies, moths, bees, and wasps; in some places even bats, birds, lizards, and monkeys drink nectar from trees.
- Trees create shady, damp environments where other plants, fungi, and animals can thrive.
- Roots anchor the soil, preventing erosion, landslides, and desertification.
2. Getting ready for a tree adventure
Prepare for an outing to explore neighbourhood trees:
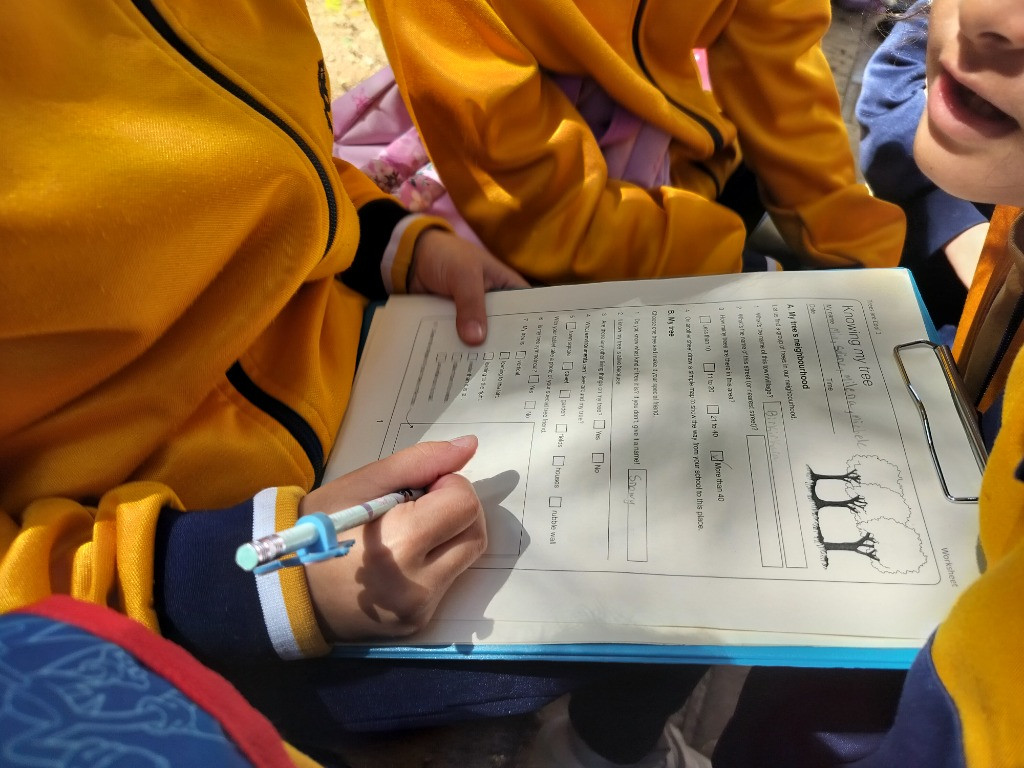
- Go through the "Knowing My Tree" worksheet with the class (Downloadable Material).
- Make a clinometer.
- Plan a safe walking rout to visit local trees.
- Print copies of the "Knowing My Tree" worksheet.
- Gather materials and gear needed for the walk (see box below).
3. Meeting your neighbourhood trees
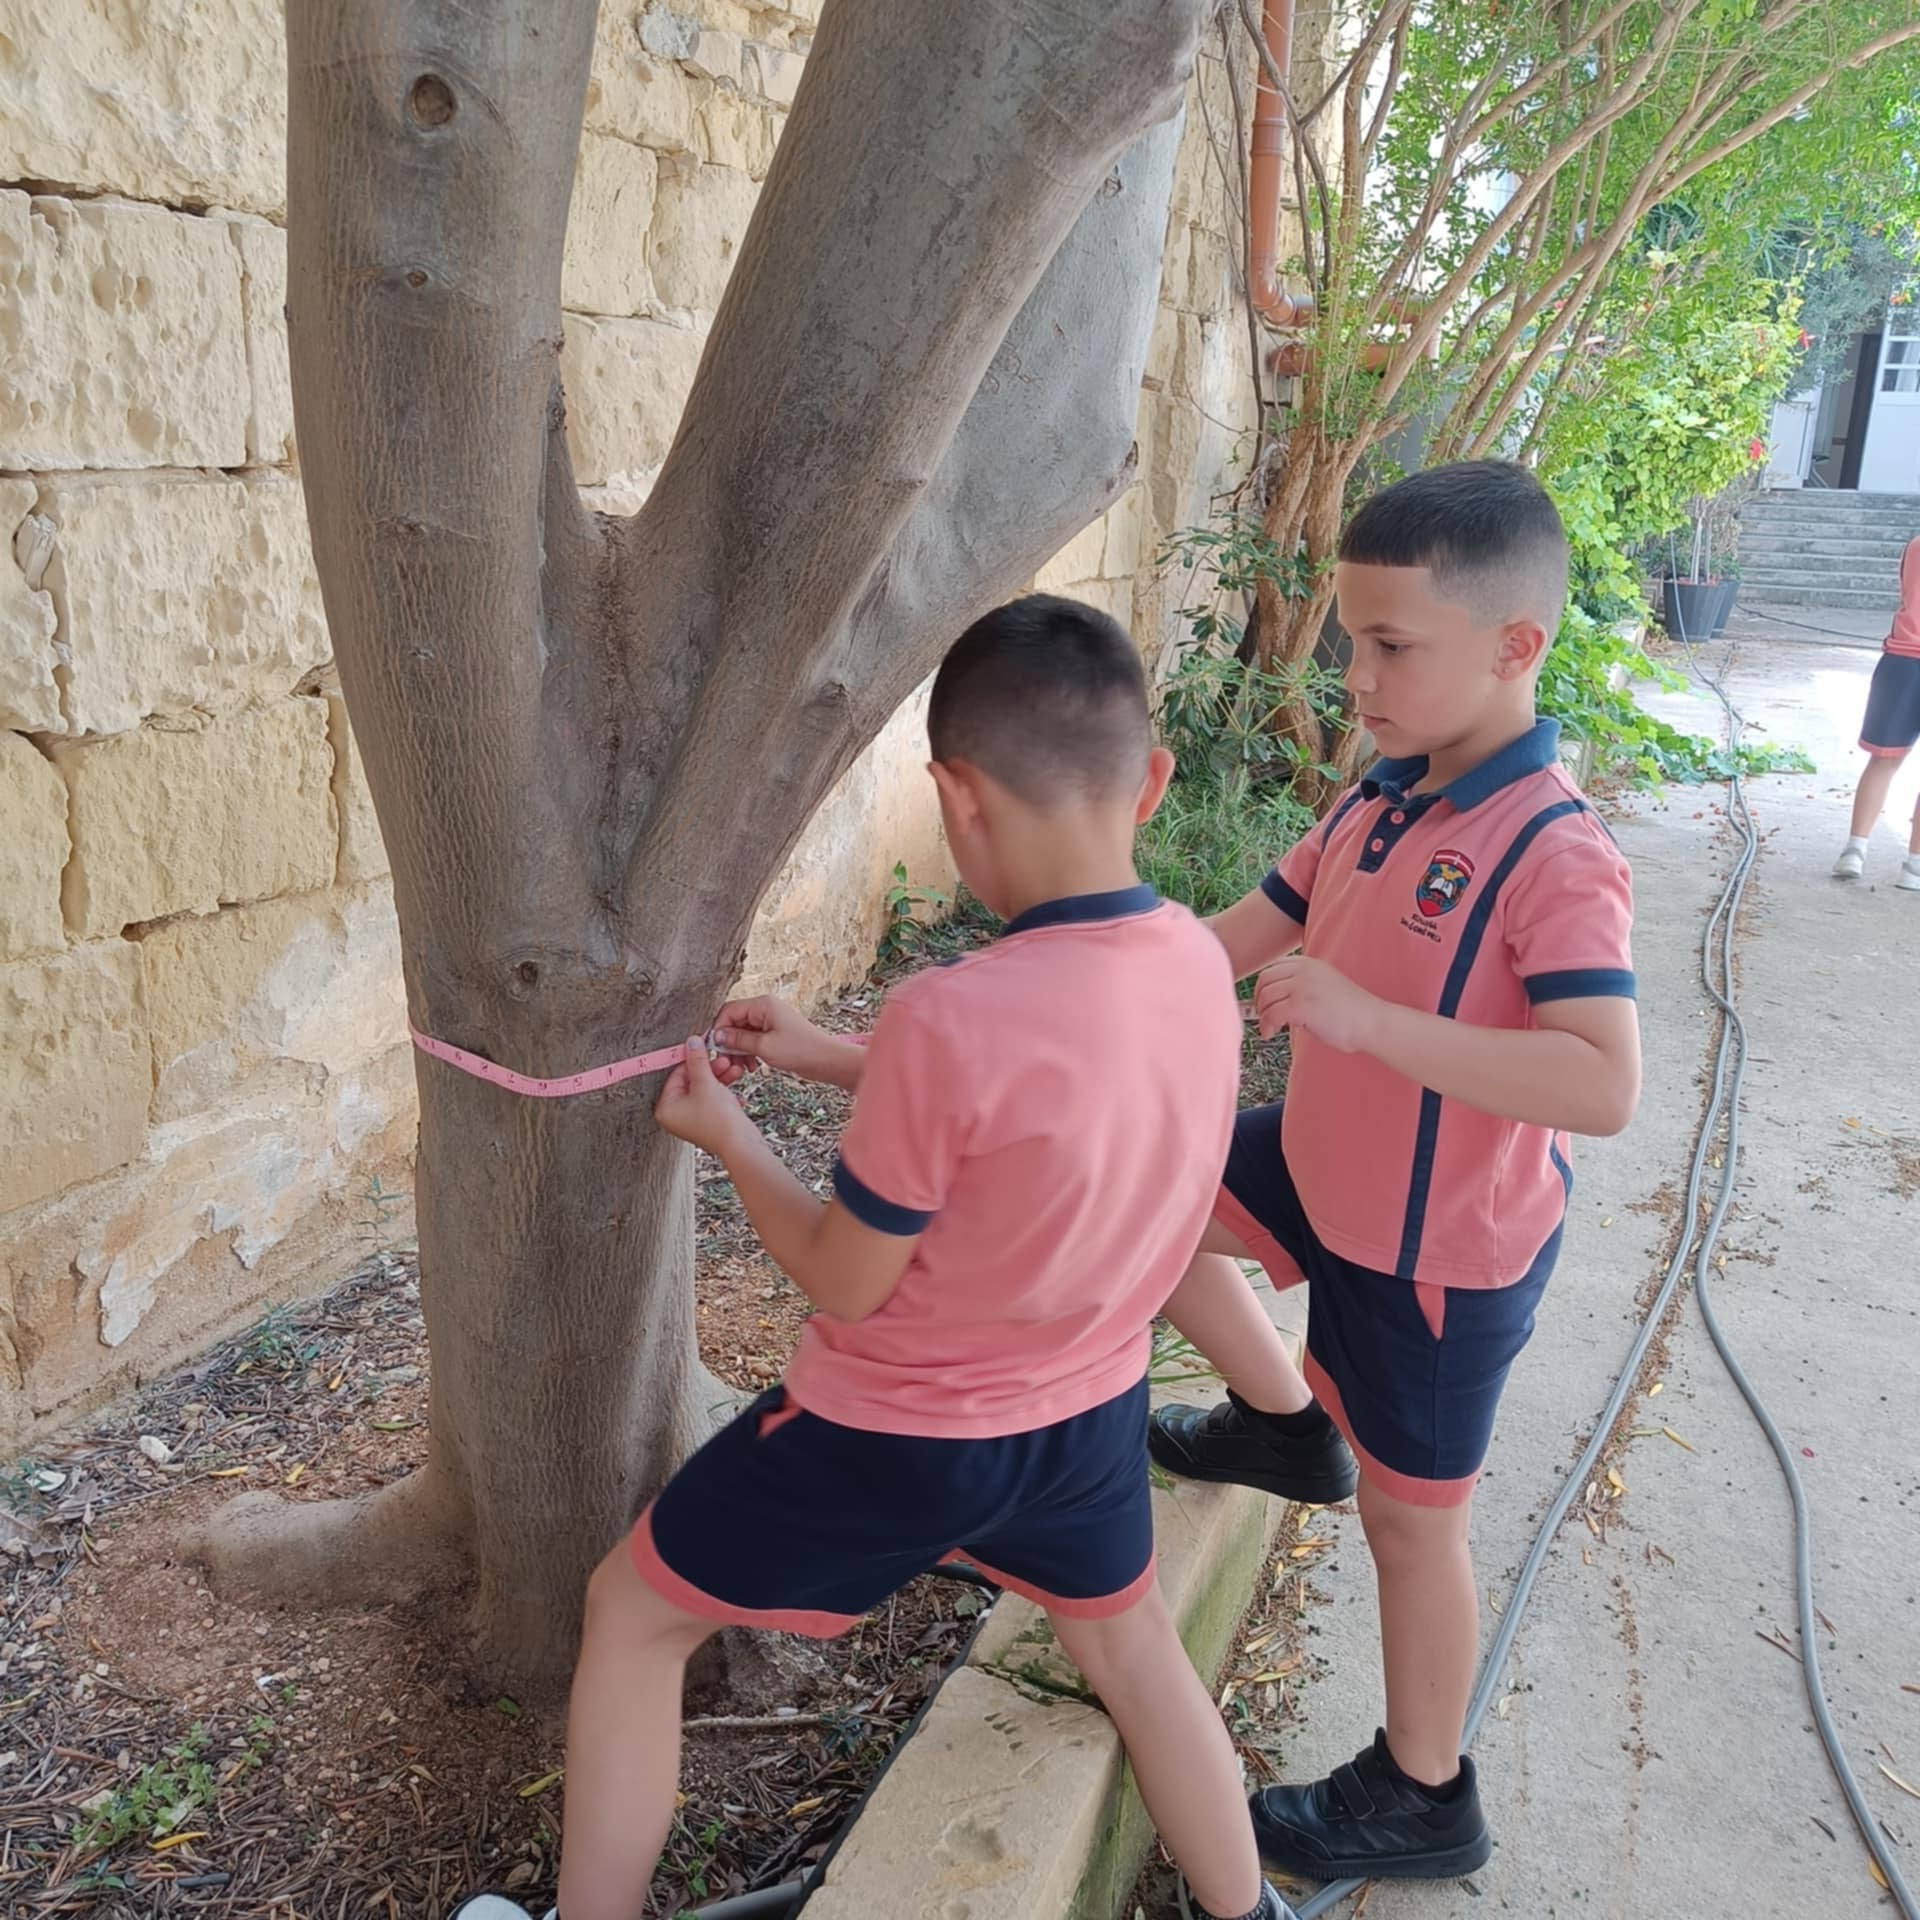
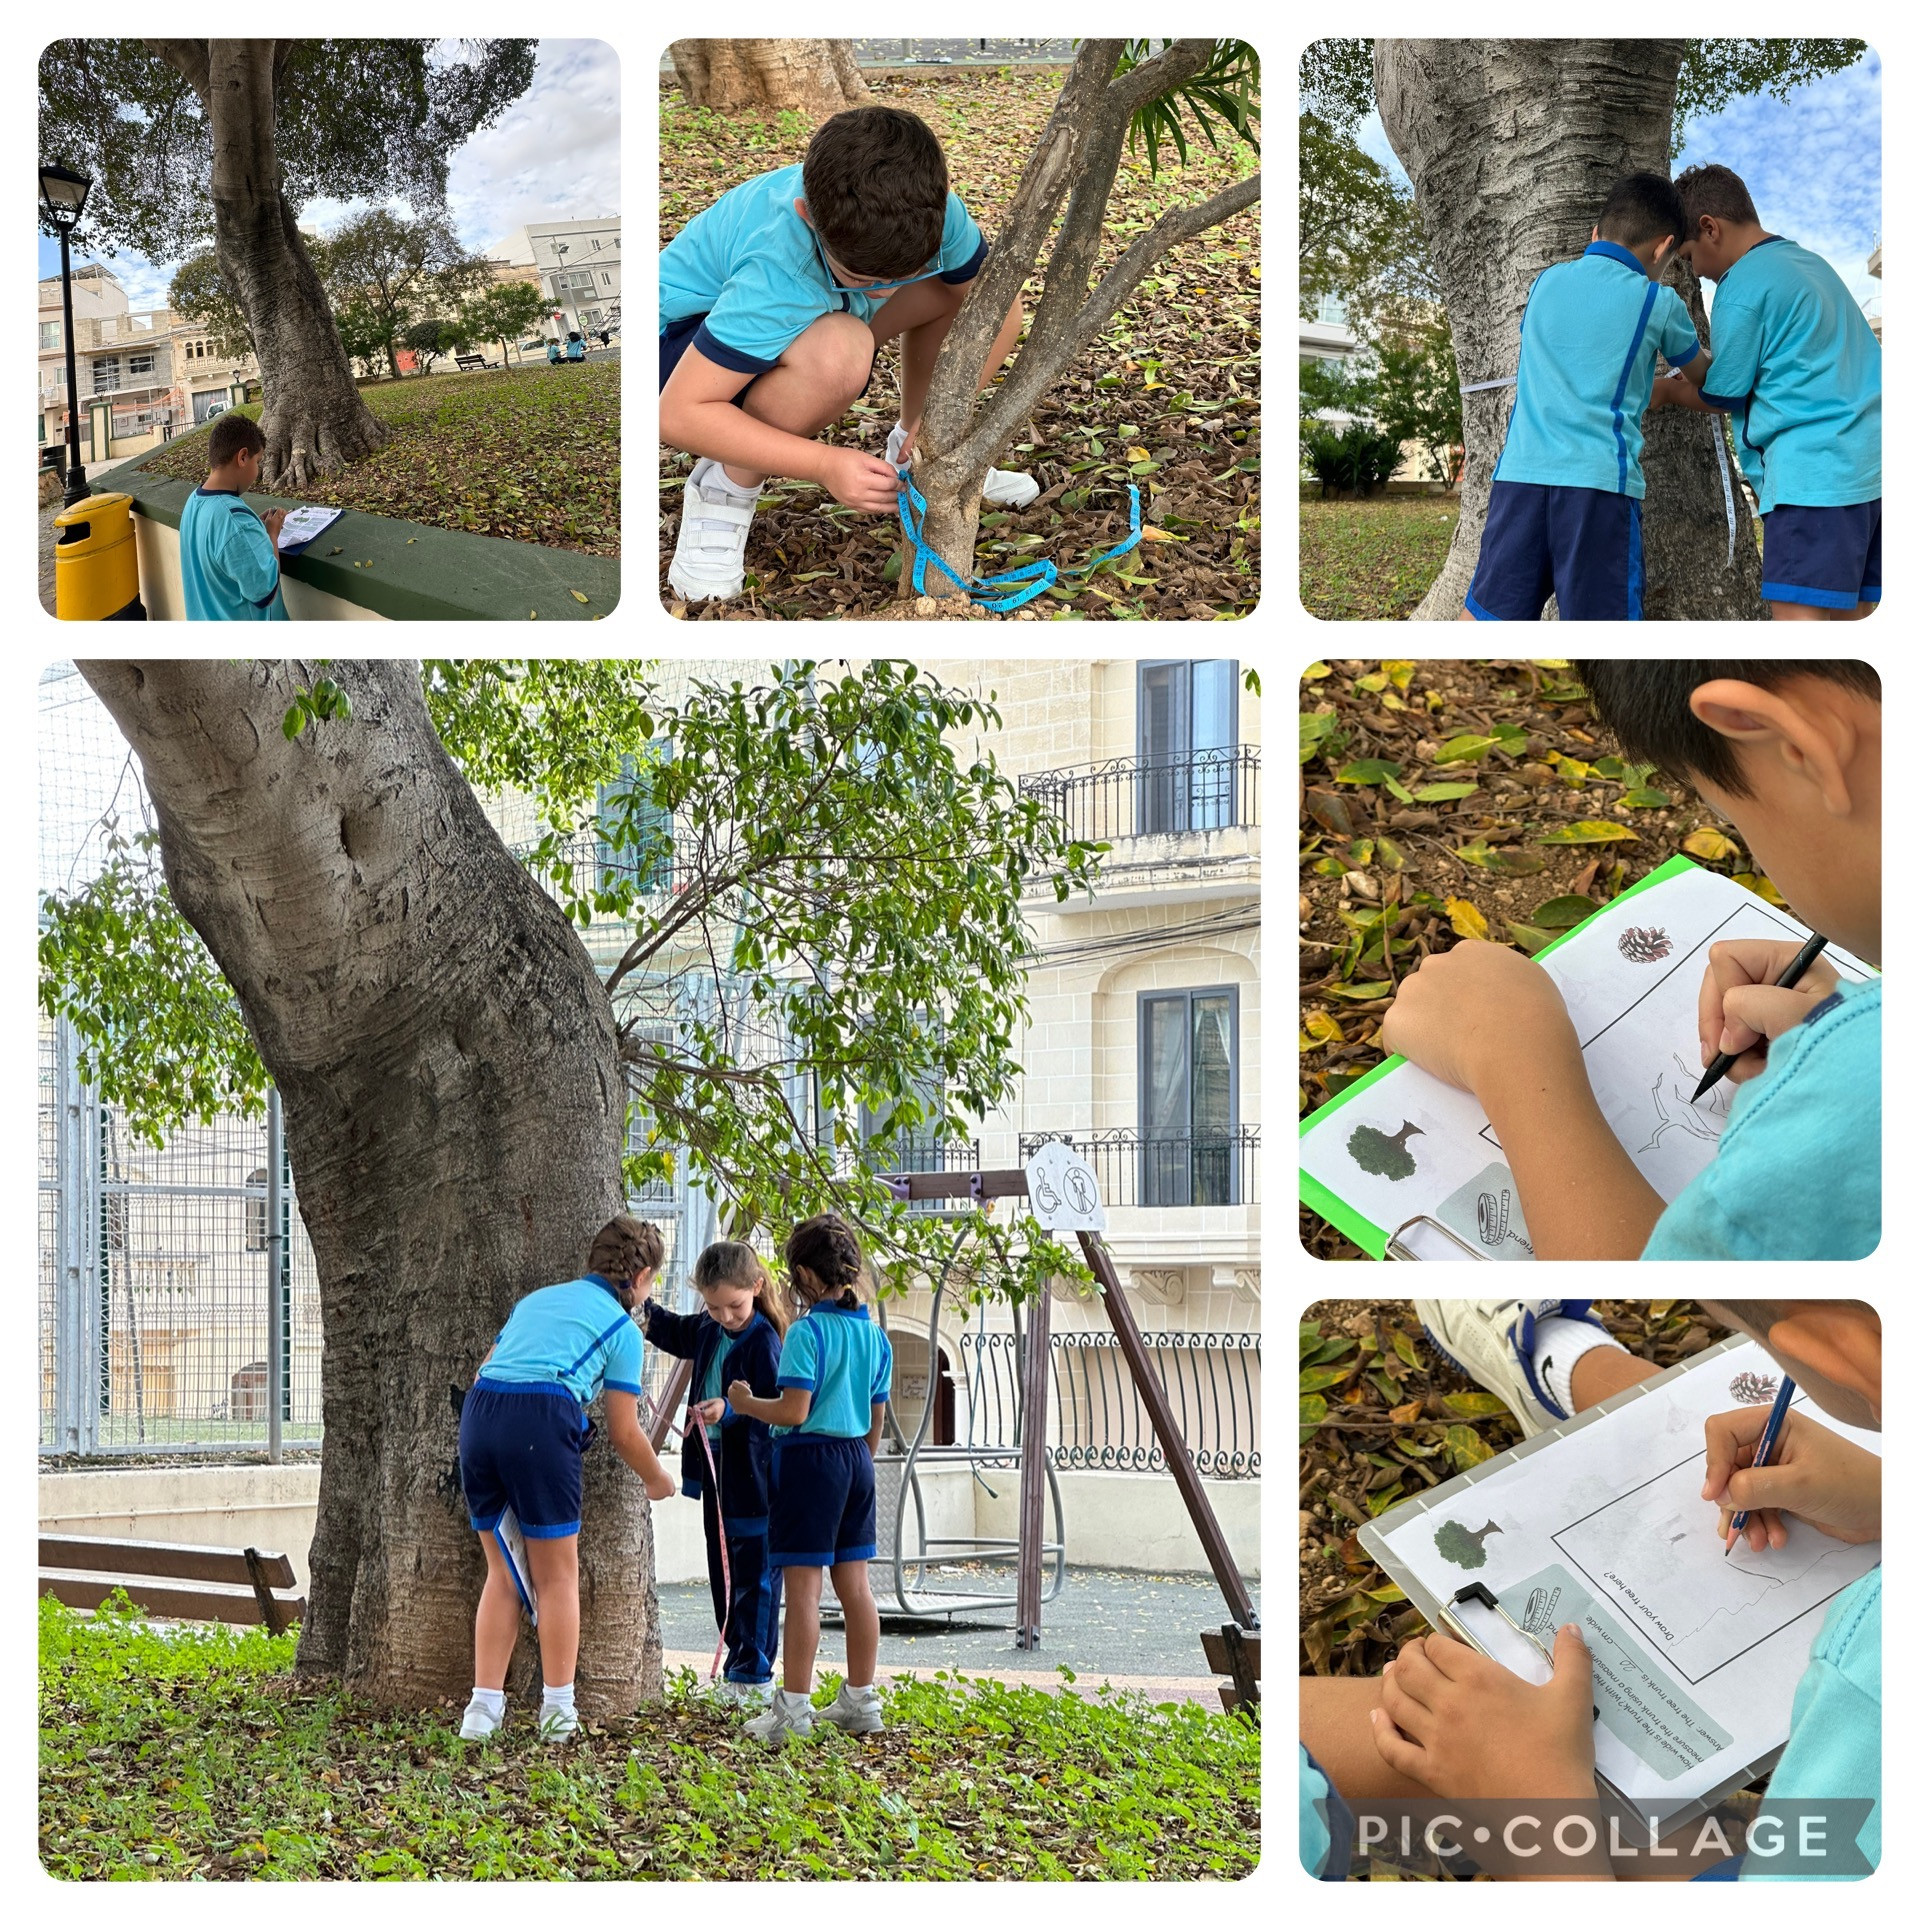
Pair up the children before setting off and give each pair a worksheet. Follow the worksheet during the walk and assign a tree to each pair/group. Before leaving, remind the children to give the trees a hug to thank them for everything they provide!
4. Bringing trees into the classroom
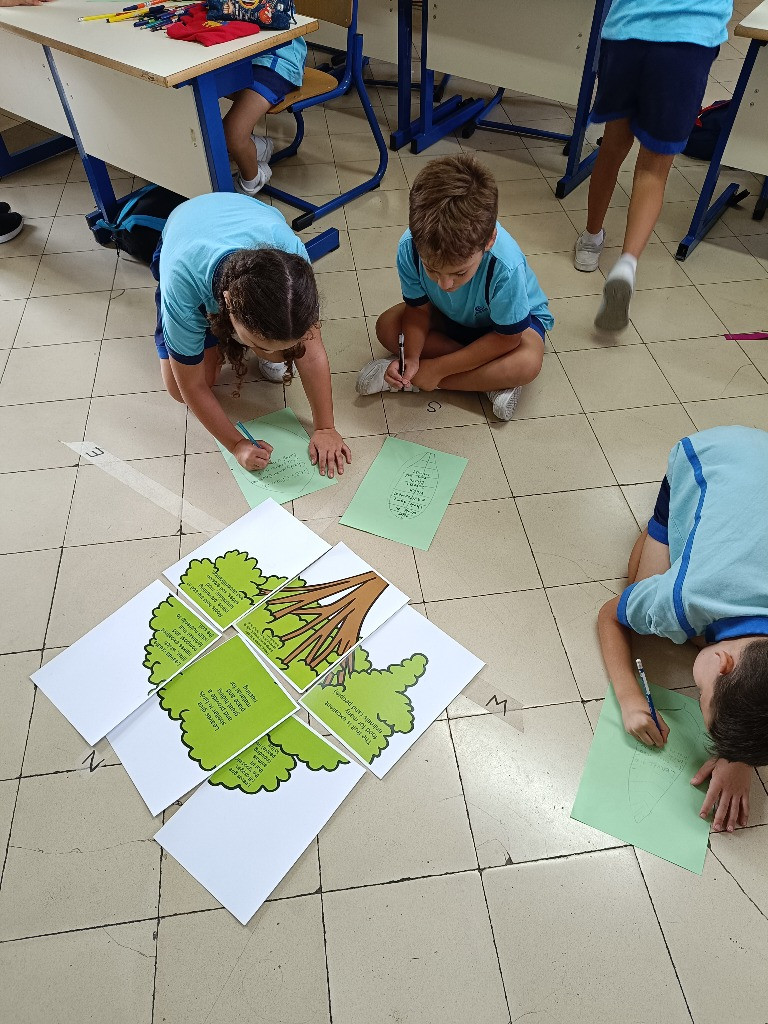
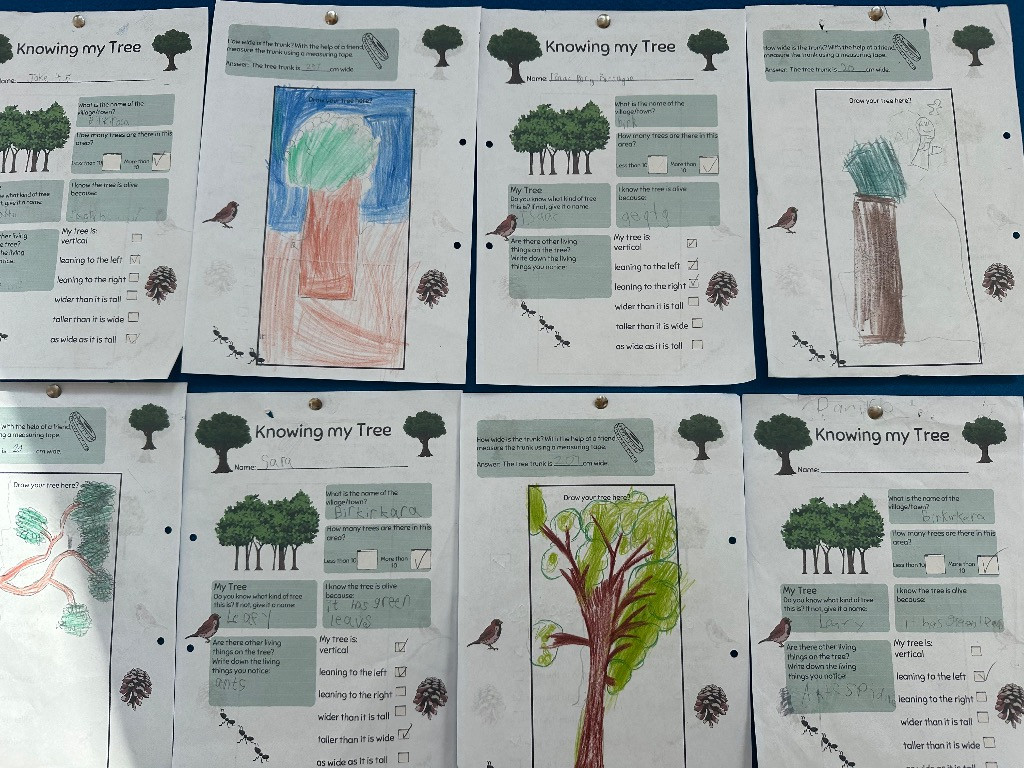
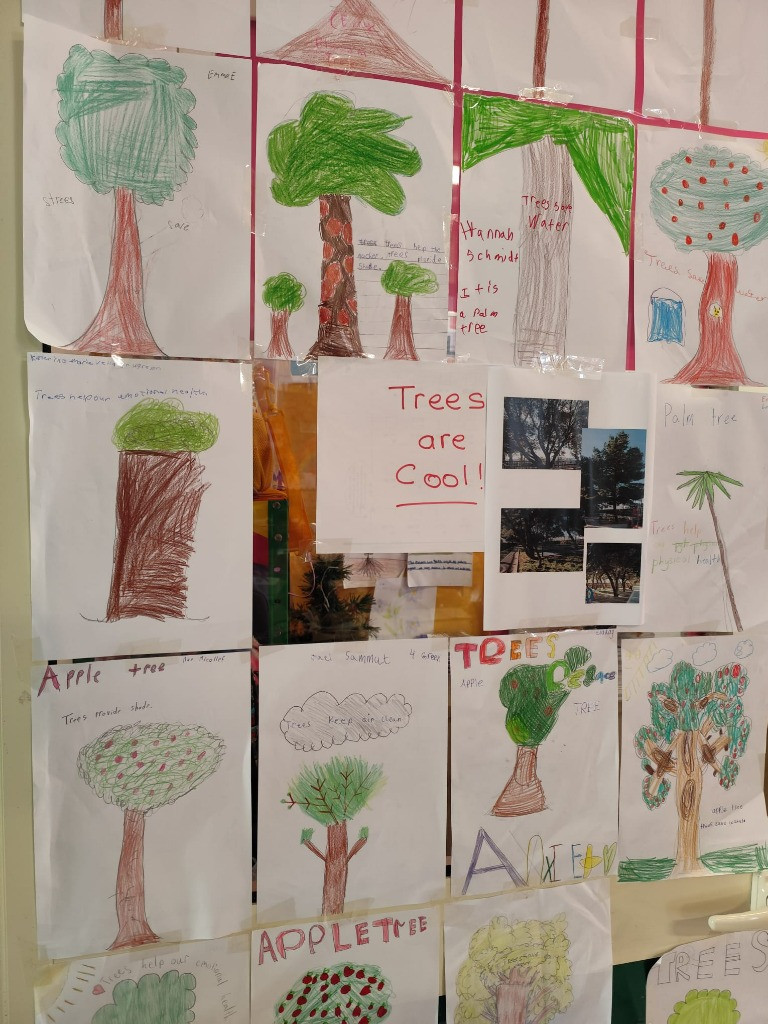
Back in class, create a display using the collected tree photos and information. Leave space for homework: ask children to take a photo of an interesting tree they spot near their home or while out with their family. These photos can then be added to the class collage, encouraging family involvement in the appreciation of trees.
Resources & Equipment Needed
- Clipboard (one per pair);
- Ruler (one per pair);
- Tape measure;
- Trundle wheel;
- String;
- Tablet/phone/camera;
- Clinometer, materials needed to DIY:
- Protractor with small hole in centre spot/ paper printout of protractor;
- Cardboard;
- 20cm/8inch string;
- Weight e.g. paper clip/small piece of clay;
- Glue;
- Scissors;
- Straw (paper);
- Clear tape.
You can download these instructions in PDF by clicking here: Generate PDF
Downloadable Material
Activity Sheet_Trees are cool 1
PDF Document
Trees are cool worksheet
PDF Document
Make sure to take photos of:
1. Tree benefits lesson2. Children investigating neighborhood trees
3. Display
Activity Photos for Inspiration
Learning Outcomes & Curriculum Integration
Subjects
- - Science
- - Maths
Learning Outcomes
Science
4.2.1 I can classify plants as living things and can describe some of the things that plants do related to their vital functions, namely roots absorb water, stem holds plant up, leaves make food for the plant, petals attract insects.
4.2.2 I can understand that plants that are important to human beings for various purposes, namely plants give us good air, they provide shade, they are habitats for other living things, some plants are edible.
Maths
5.4.6 I can define the length of an object as a measure of the distance between the endpoints of an object.
5.4.14 I can suggest and use measuring equipment to estimate and/or measure length.
5.4.2 I can also recognise such angles in 2D shapes and in the environment.
Integration with Curriculum
Tips for teachers:
1. The curricular links provided help to integrate the activity alongside the present curriculum.
2. Some Learning Outcomes may have already been covered in class, this activity may serve as a revision or reinforcement of that skill.
3. If the Learning Outcomes have not yet been covered, this activity may be used as an introduction.
4. These tasks may also be used for Ticking or Continuous Assessment purposes. In order to successfully carry out this activity, it is important to liaise with the Dinja Waħda school coordinator to plan for the following:
- identifying an area in the neighbourhood where trees can be found
- planning a visit with your classroom.
Instructions for teachers:
1. Follow the instructions provided on the website.
2. Present all the different ways that show the value of trees. You may choose to use the PPT attached.
3. Prepare the students prior to visiting the trees. Explain what is expected of them and explain how to measure their hands span. Practise this in class, for example, the students may measure their table tops using their hand spans.
Also make sure to pracitse using the Clinometer in class before going in the open area. Remember, it will be much harder to get students' attention and explain once you are outside, so it is best to ensure they all know what they need to do once they are there. Students may try to measure the height of the classroom ceiling or corridor ceiling using the clinometer before venturing outside and measuring the tree's height.